Verification of scales and weights
|
|
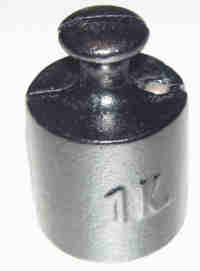 |
As
example: This is an normal iron weight of one KG ( Germany ) This kind of weights have a little hole which is closed by lead. After calibration, the calibrator seal this lead with an verification mark. |
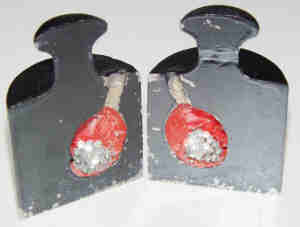 |
Here
you see this nice weight with a cut in the midle... please do not ask how
much work that was !!! You can see the filling way for the calibration
metal ( silver and red ) The filling material is often lead or iron pearls. |
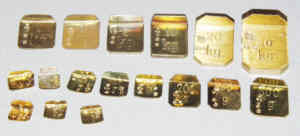 |
Of course you need a example of the correct weight ( master weight ) and also you need some test weights which show the maximum of the tolerance. |
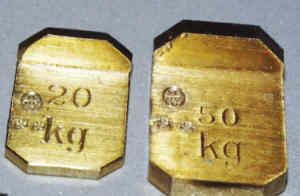 |
This little weights have the weigh of the max. tolerance for each weight from 1 gram to 50 KG. This set is from high precision which you can see during the two precision stars. |
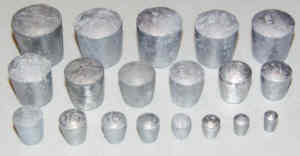 |
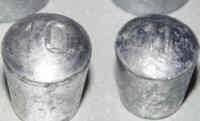
Those
lead seals close the calibration hole. They are numbered from 1 to 19 ( size ) |
 |
|
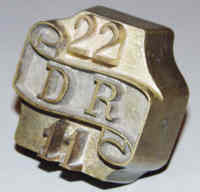 |
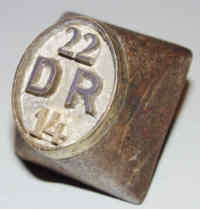
After
calibration the weight / scale / mass get the verification mark. This one is for wooden masses and work with heat ! |
 |
like this one , with the wooden handle... |
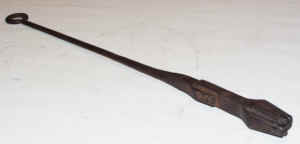 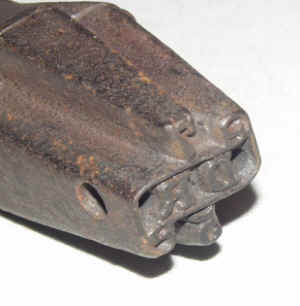 |
and this one with the iron handle. |
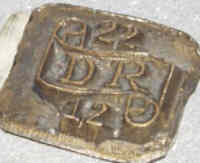 |
.... for lead .... |
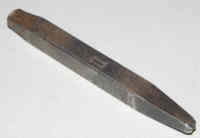 |
... for iron and brass ! |
 |
Also
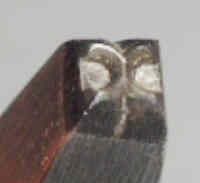
there exist a sign to void the older verifications or void the complete weight. Some calibrator also destroy or cut the weight to void it. As collectors we hope only for a voided mark. |
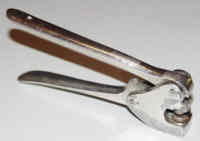 |
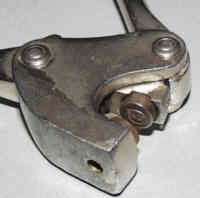
A hard to find seal pliers, which was in use for seal scales with lead ! |
 |
|
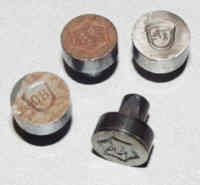 |
Some examples of seal tools for the pliers. |